POS Interface
The POS (Point of Sale) interface is designed for fast-paced retail environments, supporting both barcode scanning and touch-screen interactions.
The cashier workflow usually starts from the Cashier Dashboard. From there, users can look up items, open existing invoices, create new invoices, record expenses, view register totals, and navigate to customer or product lists.
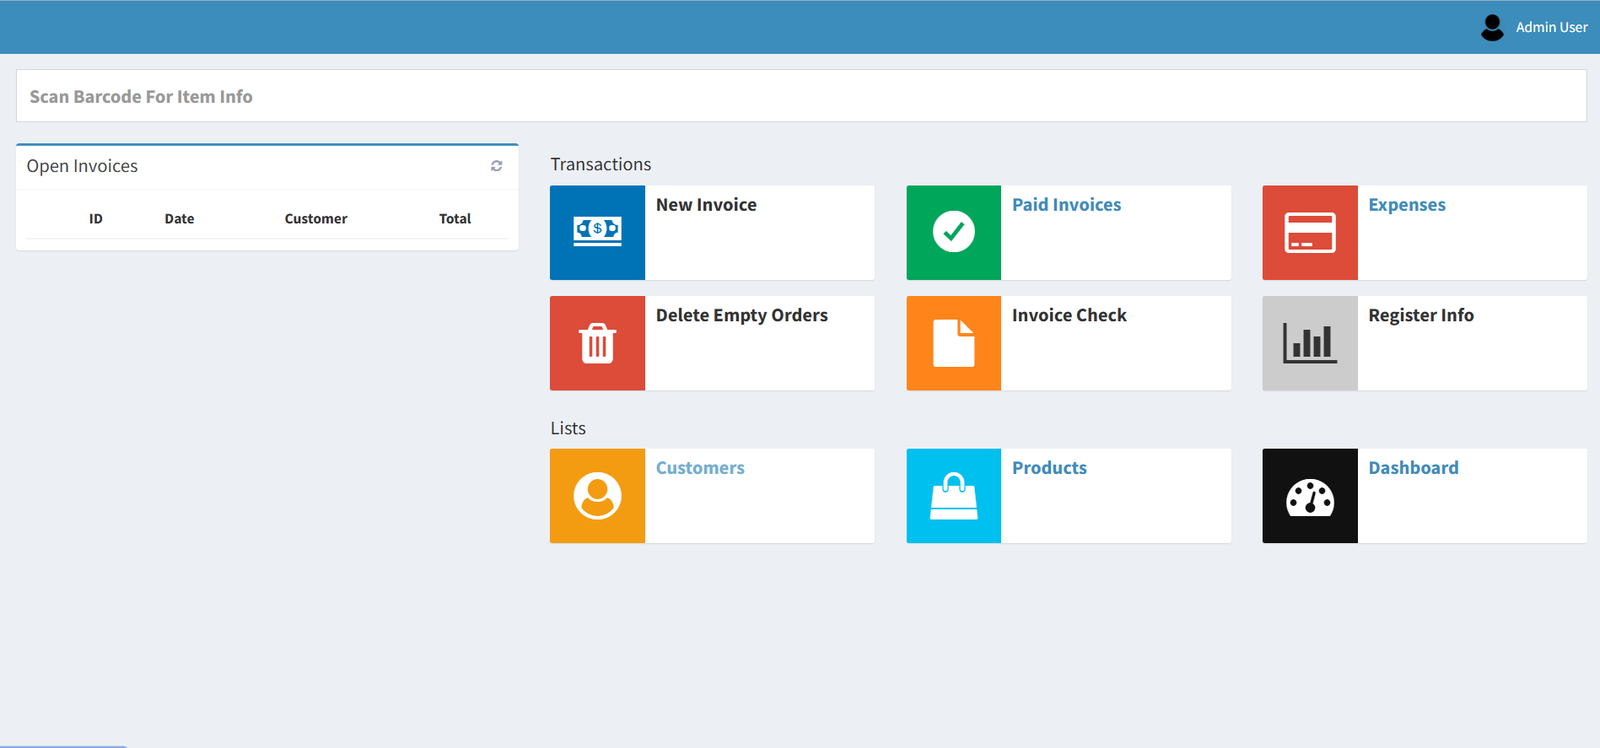
Cashier Dashboard Overview
The Cashier Dashboard is designed for day-to-day register work. It focuses on actions a cashier needs during a shift: starting sales, continuing open sales, checking product information, reviewing register totals, and quickly reaching common lists.
Use this page when you are working at the register and need quick access to sales-related actions.
Dashboard Sections and Buttons
Scan Barcode For Item Info

Purpose: Looks up item information by barcode before or during cashier work.
When to use it: Use this when you need to check a product before opening an invoice, confirm a barcode, or help a customer with item information.
What happens: Click inside the barcode field and scan the product. The system searches for the matching item.
Typical workflow:
- Click the Scan Barcode For Item Info field.
- Scan the product barcode.
- Review the item information shown by the system.
- Continue with the sale if the item is correct.
- Make sure the cursor is inside the barcode field before scanning.
- If the item is not found, check the product record or ask an authorized user to verify the barcode.
Open Invoices
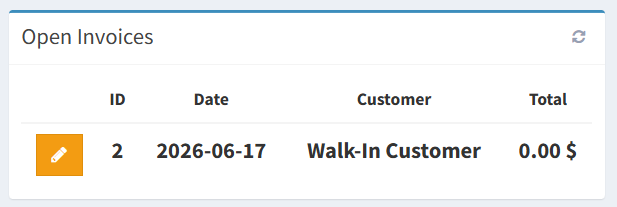
Purpose: Shows invoices that have been started but not completed.
When to use it: Use this to continue a sale that is still open.
What happens: Click the edit button beside an invoice to open it in the Sales Management screen.
Typical workflow:
- Find the invoice in the Open Invoices panel.
- Confirm the customer and total.
- Click the edit button.
- Continue the invoice from the Sales Management screen.
- Open invoices are not completed sales.
- Confirm you are opening the correct invoice before continuing.
- Do not create a second invoice for a customer who already has an active sale unless instructed.
Edit Existing Invoice
When the user clicks Edit from Open Invoices, the system opens the Sales Management screen.
For detailed invoice editing workflows, see: Sales Management
This POS page covers the Cashier Dashboard and POS entry workflow. Detailed Sales Invoice editing instructions are maintained in Sales Management so the POS documentation does not duplicate the full sales workflow.
New Invoice
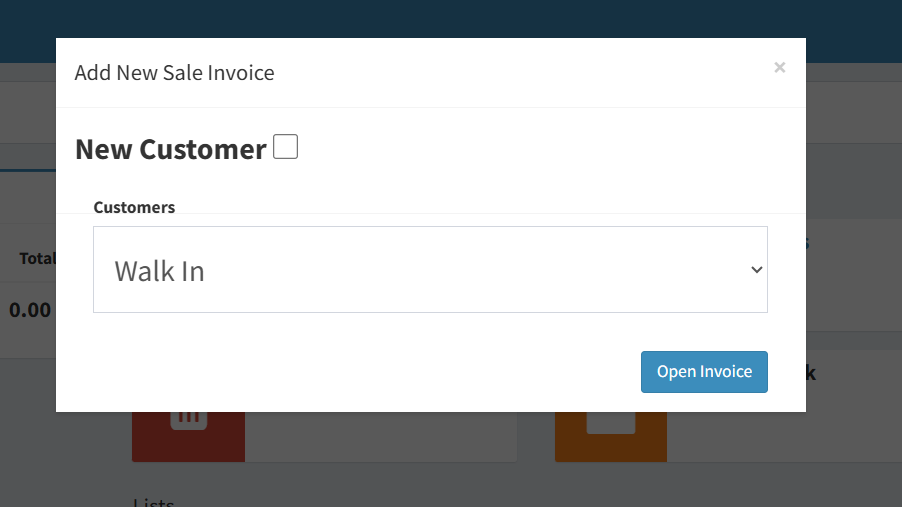
Purpose: Starts a new sale.
When to use it: Use this when a customer is ready to purchase items and does not already have an open invoice.
What happens: A new invoice window opens. You can select Walk In, choose an existing customer, or enter a new customer if needed.
Typical workflow:
- Click New Invoice.
- Select Walk In or choose an existing customer.
- If needed, create a new customer.
- Open the invoice.
- Add products and complete payment.
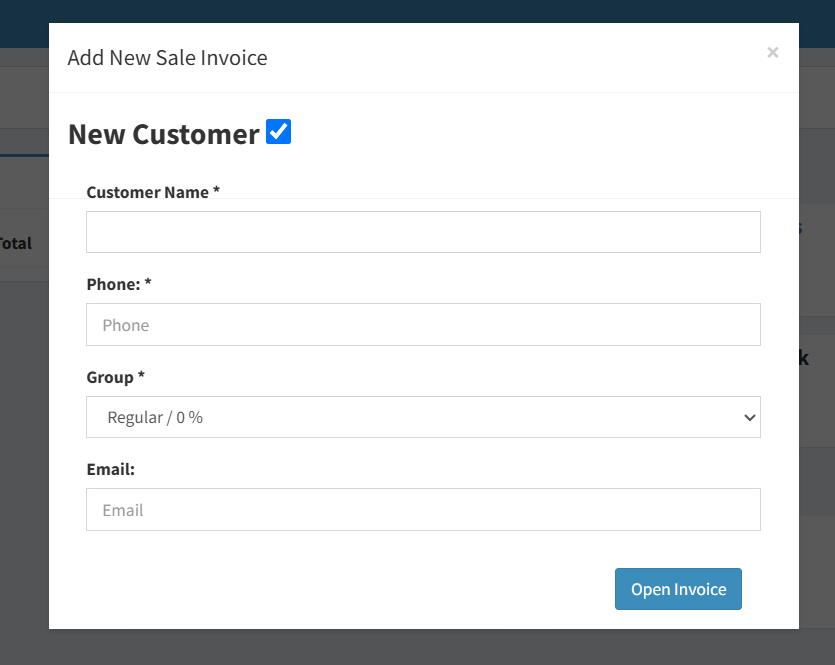
- Use Walk In for customers who do not need account tracking.
- Select the correct customer if customer discounts or balances should apply.
Expenses
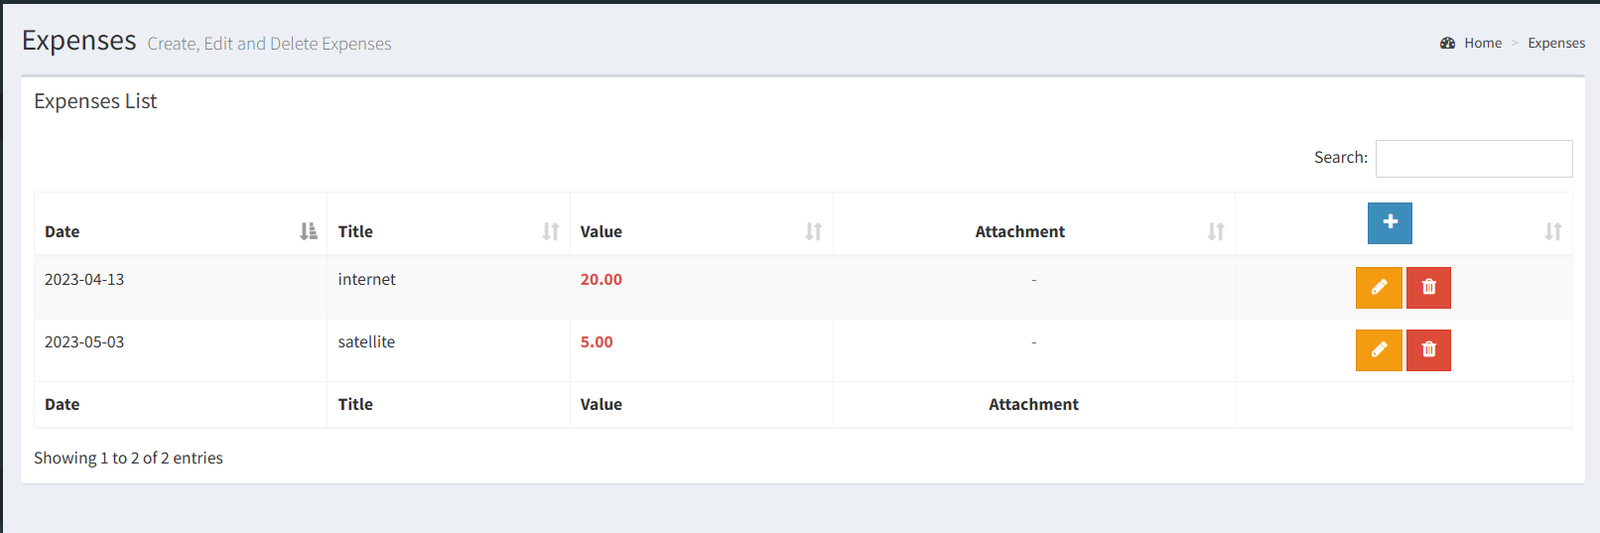
Purpose: Opens expense tracking.
When to use it: Use this when recording money spent outside normal sales, such as supplies, petty cash, or branch expenses.
What happens: The Expenses page opens.
Typical workflow:
- Click Expenses.
- Add or review an expense.
- Save the expense with the correct amount, category, and notes.
- Record expenses promptly so register and daily totals remain accurate.
- Use clear descriptions for manager review.
Delete Empty Orders
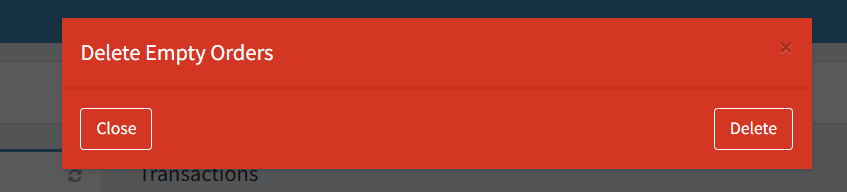
Purpose: Removes open invoices that contain no items.
When to use it: Use this when accidental blank invoices were created.
What happens: The system asks for confirmation, then removes empty invoices.
Typical workflow:
- Click Delete Empty Orders.
- Review the confirmation.
- Confirm only if you are sure.
- This should only be used for invoices with no items.
- Do not use this for completed sales or invoices with products.
Register Info
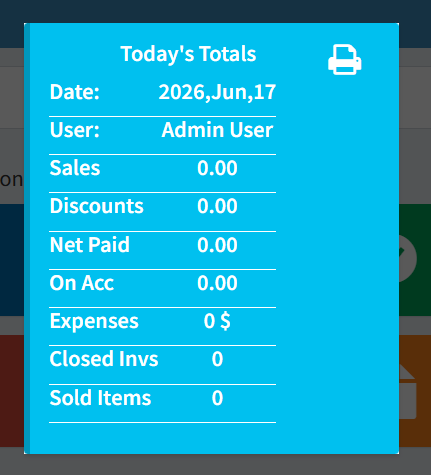
Purpose: Shows today's cashier totals.
When to use it: Use this during or near the end of the shift to check sales, discounts, payments, on-account amounts, expenses, closed invoice count, and sold item count.
What happens: A register summary window opens. It can be printed if needed.
[INSERT SCREENSHOT: Register Info window showing today's totals and payment breakdown]
Typical workflow:
- Click Register Info.
- Review the totals.
- Print the summary if required by the store process.
- Register totals depend on correct payment entry.
- If a payment was entered under the wrong payment type, the register summary may not match the physical register.
Customers
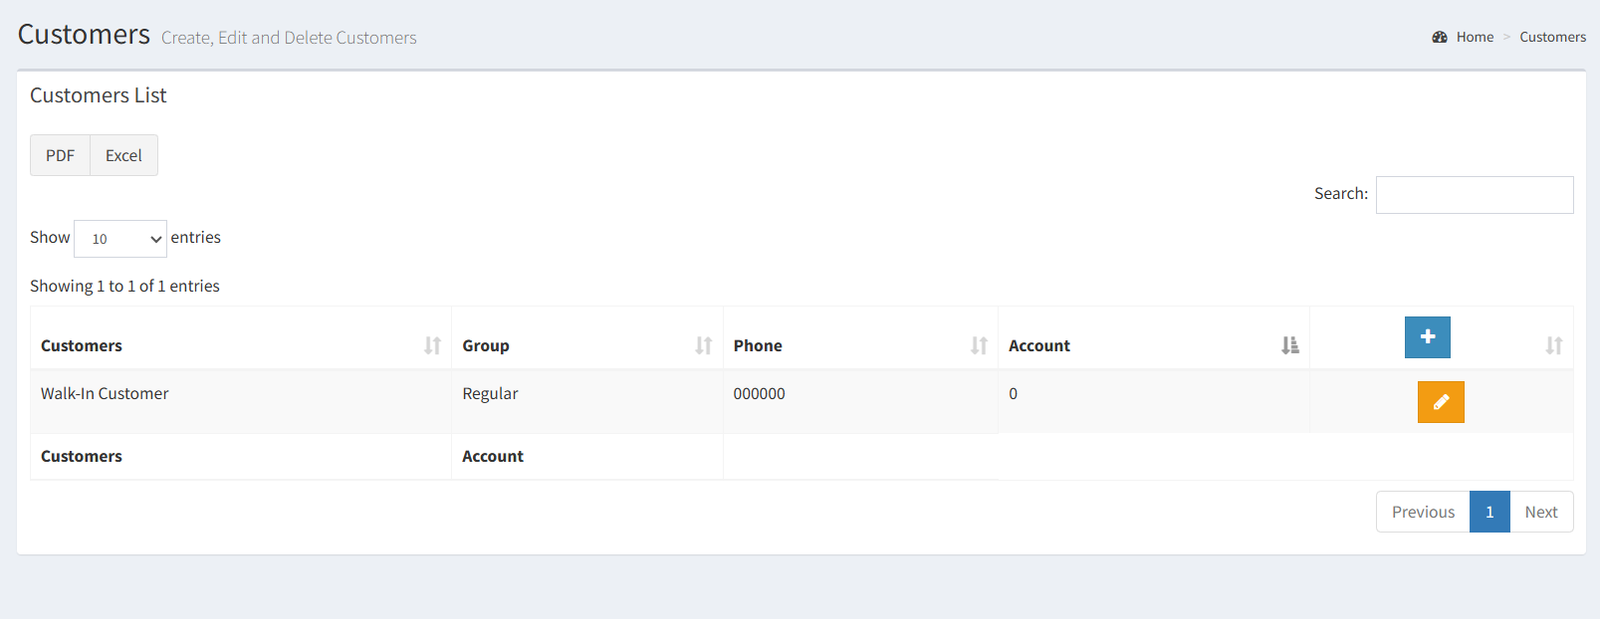
Purpose: Opens the customer list.
When to use it: Use this to search for a customer, review customer information, or check account details.
What happens: The Customers page opens.
Typical workflow:
- Click Customers.
- Search for the customer.
- Review the customer record.
- Return to the cashier workflow.
- Customer selection can affect discounts and account balances.
- Keep customer phone numbers and group assignments accurate.
Products
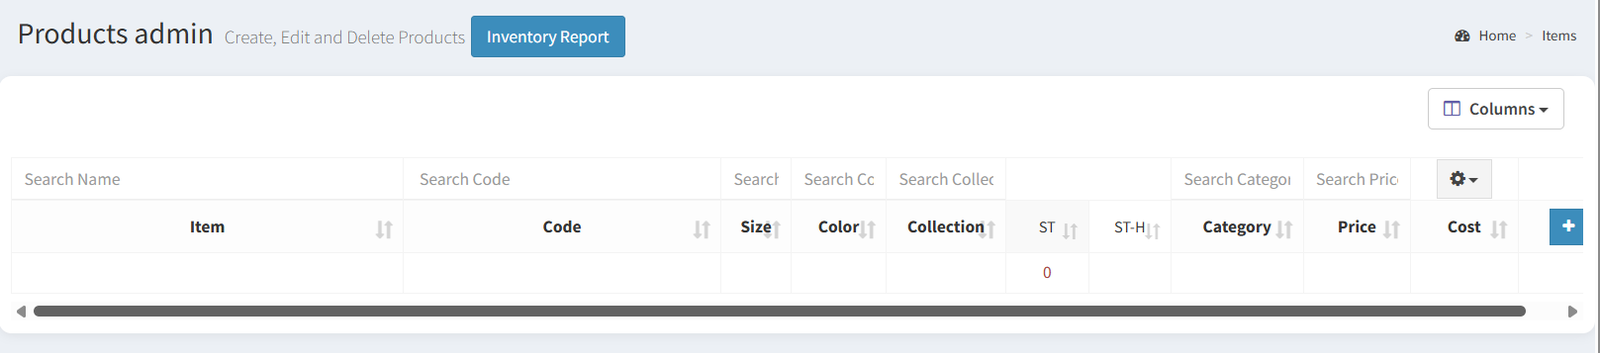
Purpose: Opens the product list.
When to use it: Use this to search products, confirm prices, check stock, or verify barcode information.
What happens: The Products page opens.
Typical workflow:
- Click Products.
- Search for the product.
- Confirm price, barcode, or stock.
- Return to the cashier workflow.
- Product edits may require additional permissions.
- If an item does not scan, check the product barcode here.
Dashboard
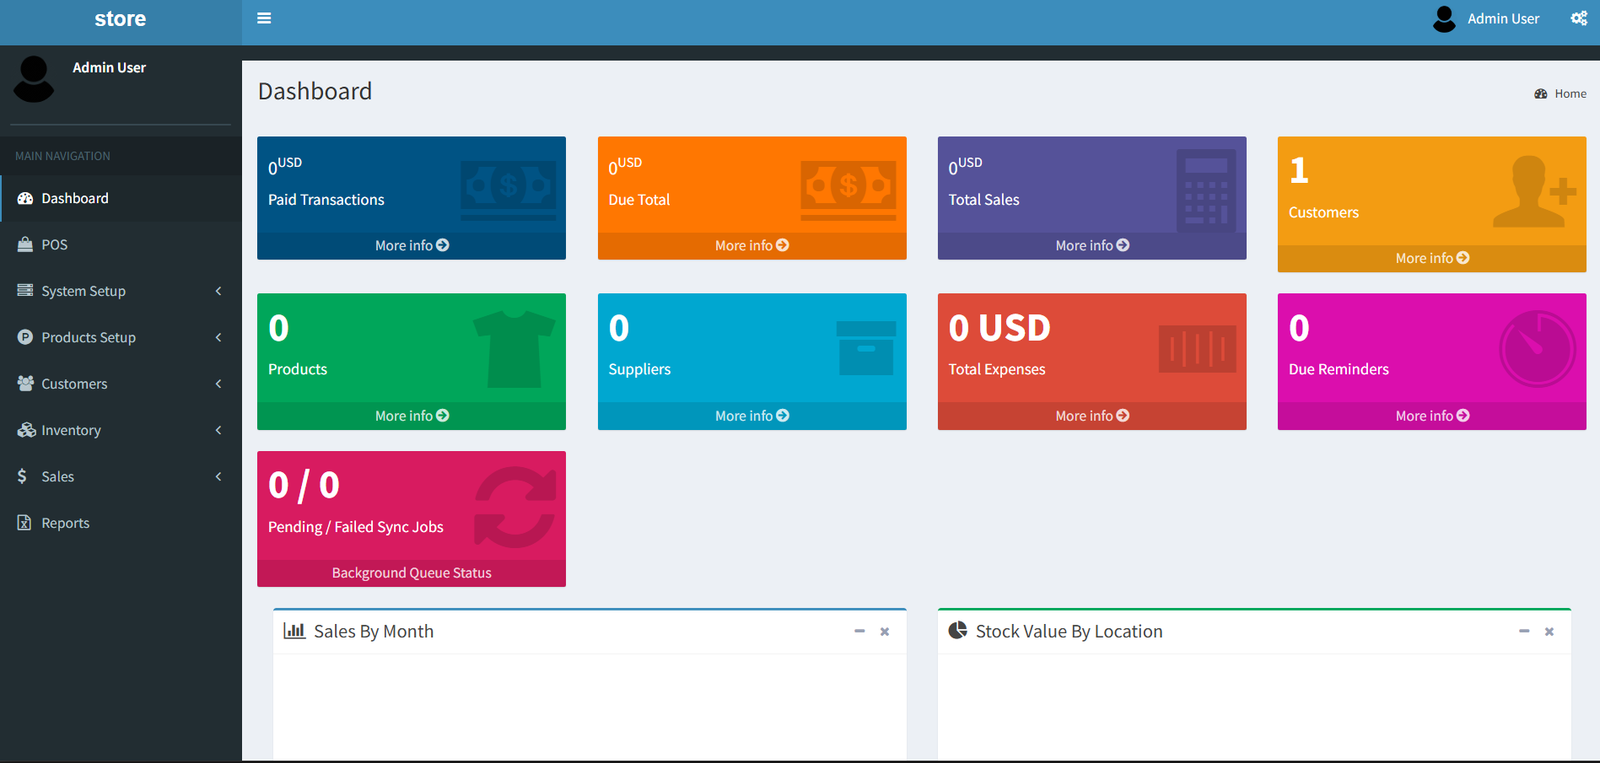
Purpose: Opens the main system dashboard.
When to use it: Use this when you need to leave cashier-focused work and return to the broader system dashboard.
What happens: The main Dashboard page opens.
- Some dashboard information may be manager or admin focused.
- Available dashboard sections depend on your permissions.
Related Pages
- Sales Management
- Customer Management
- Product Management
- Expenses Management
- System Configuration
- Reports and Register Summaries