Sales Management
Sales Management is used to review open invoices, edit invoice details, complete payment, print invoices, check old invoices, and review closed sales.
Users may reach this page by clicking Edit from the Cashier Dashboard/Open Invoices area. Detailed invoice editing belongs here, while the POS page explains the cashier dashboard and new invoice workflow.
Sales Management Overview
The Sales area has two main invoice lists:
- Open Invoices: Draft invoices that have not been paid or closed.
- Closed Invoices: Paid invoices available from Sales History.
The Sales page also includes:
- Add Sale: Opens the Add New Sale Invoice modal.
- Check Invoice: Opens a search modal for printing an invoice by system ID or by branch invoice number.
- Edit: Opens an open invoice for review and changes.
- Print: Opens a completed invoice for reprinting.
How to Access the Sales Page
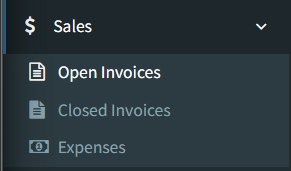
From the main sidebar, open Sales, then choose:
- Open Invoices to view draft invoices.
- Closed Invoices to view completed invoices.
Users can also reach an open invoice from the Cashier Dashboard by clicking Edit in the Open Invoices area.
Open Invoices
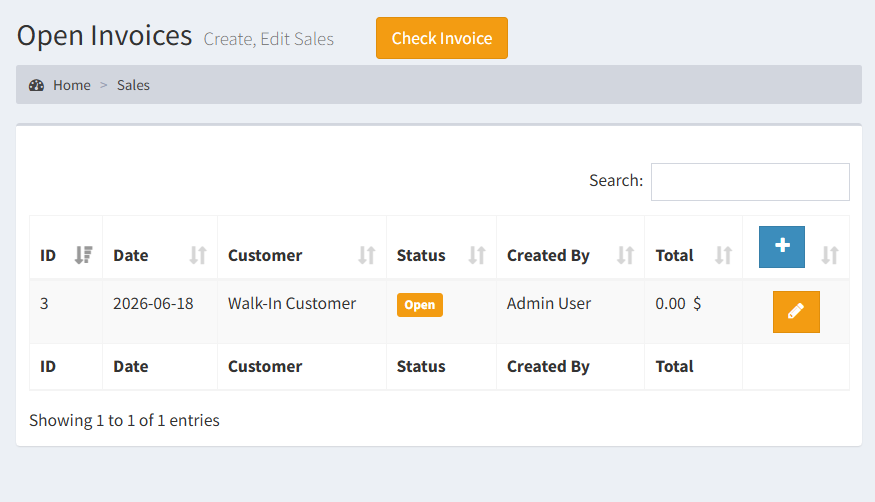
The Open Invoices page lists active invoices with invoice ID, date, customer, status, creator, and total.
Typical workflow:
- Open Sales > Open Invoices.
- Search or sort the table if needed.
- Confirm the customer, date, and total.
- Click the pencil icon to open the invoice.
- Open invoices are not completed sales.
- Do not create a duplicate invoice for a customer who already has an active invoice unless instructed.
- The invoice edit destination depends on the configured sales layout:
- Invoice Layout opens the Sales Invoice screen.
- POS Layout opens the POS invoice screen.
Editing an Invoice
In Invoice Layout, clicking the pencil icon opens the Sales Invoice screen. This screen is used to review the invoice header, edit invoice lines, add services, take payment, print, delete open invoices, and process confirmed refund actions.
Typical workflow:
- Open Sales > Open Invoices or click Edit from the Cashier Dashboard/Open Invoices area.
- Click the pencil icon beside the invoice.
- Review the invoice status, customer, invoice ID, and total.
- Make the required line, discount, service, or payment changes.
- Click Save after line-level edits.
Important behavior:
- If the invoice is already closed, editing controls are restricted.
- If unsaved line changes exist, print and payment actions may be hidden until the invoice is saved.
- Price and discount fields may be read-only depending on user permissions.
Invoice Line Actions
The Sales Invoice screen shows invoice lines in a table. Each line can include item name, code, size, quantity, price, total, discount percentage, discount amount, stock, and delete controls.
Add a Product Line
Typical workflow:
- Click Product at the bottom of the invoice line table.
- Select or search for the product.
- Confirm quantity, price, and discount fields.
- Click Save.

Add by Barcode
The Sales Invoice screen includes a Scan Barcode field. Scanning a known barcode can add the item to the invoice or update an existing invoice line, depending on the configured barcode behavior.

If barcode quick-add is enabled and the scanned product is not found, the system can open a Quick Add Product modal.
Edit Quantity, Price, or Line Discount
Typical workflow:
- Locate the invoice line.
- Update the quantity field.
- Update price only if your permissions allow price editing.
- Update discount percentage or discount amount only if your permissions allow discount editing.
- Confirm the line total and invoice total update.
- Click Save.

Delete an Invoice Line
Typical workflow:
- Click the delete control beside the invoice line.
- Review the confirmation modal.
- Confirm deletion only if the item should be removed from the invoice.

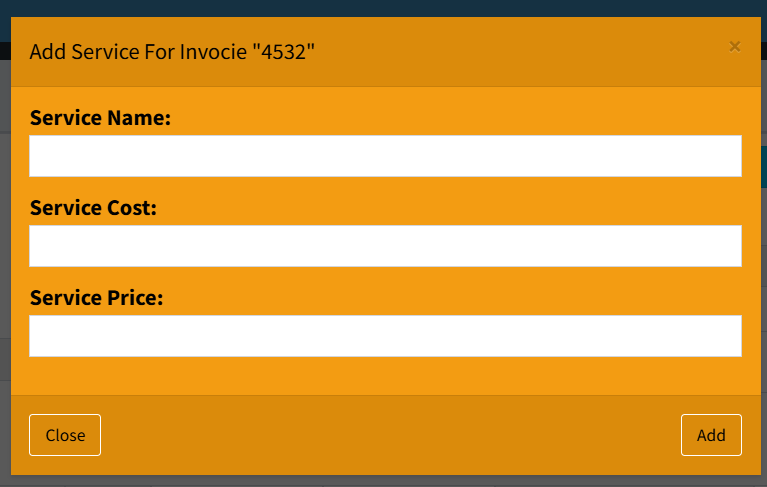
Add a Service Line
Use Services when the invoice needs a service charge rather than a product item.
Typical workflow:
- Click Services.
- Enter the service name.
- Enter service cost and service price.
- Submit the modal.
- Review the invoice total.
Return Item on an Open Invoice
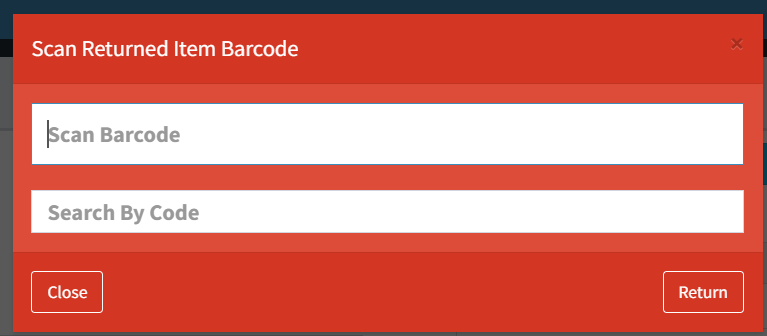
The Sales Invoice screen includes a Return action for scanning or selecting a returned item on an open invoice.
Typical workflow:
- Click Return.
- Scan the returned item barcode or search by code.
- Submit the return item modal.
- Review the returned line and invoice total.
Discounts
Discounts are available in two confirmed areas of the Sales Invoice workflow.
Line Discounts
Line discount fields appear in the invoice line table:
- Disc %: Discount percentage for the line.
- Disc $: Discount amount for the line.
These fields may be read-only if the user does not have discount permissions.
Payment Discount and Auto Discount
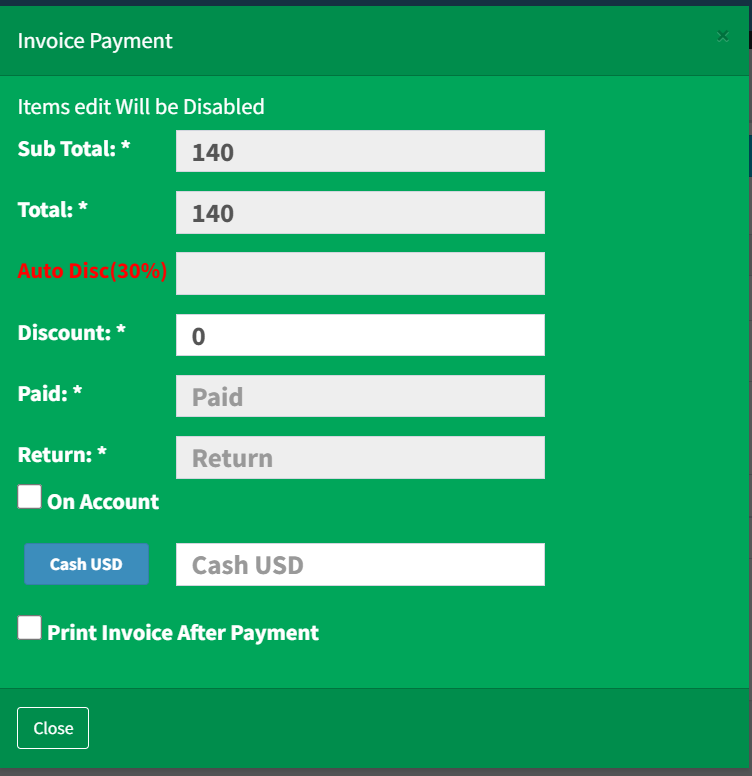
The payment modal can show:
- Auto Disc: Customer group discount applied automatically when configured.
- Discount: Manual invoice-level discount entered during payment.
Entering a manual payment discount can require the manager code.
Payments
Use the payment modal to close an open invoice.
Typical workflow:
- Open the invoice.
- Click Pay.
- Review Sub Total, Total, discounts, and payment fields.
- Enter amounts in the correct payment type fields.
- Use On Account only when the customer will keep a remaining balance.
- Confirm the Return amount.
- Enter manager code if required.
- Select Print Invoice After Payment if needed.
- Complete the payment.
- Payment types are configured by the system and can vary by store.
- Multiple payment fields can be used for split payments.
- If the return amount is negative, the invoice cannot normally be completed unless On Account is selected.
- Completing payment closes the invoice and moves it to Closed Invoices.
Printing and Reprinting Invoices
Print from the Sales Invoice Screen

The Sales Invoice screen includes print actions when the invoice has a value:
- Print: Opens the printable invoice view.
- PDF: Downloads or opens the PDF invoice when available.
- Print Invoice After Payment: Prints after the payment is completed when selected.
Reprint from Closed Invoices
Typical workflow:
- Open Sales > Closed Invoices.
- Locate the completed invoice.
- Click the print icon.
- Review the invoice screen or print preview.
- Print the invoice.

Paid and Closed Invoices
Closed invoices are listed under Sales > Closed Invoices. This page shows completed invoices with invoice number, ID, date, customer, status, creator, total, discount, paid amount, and on-account amount.
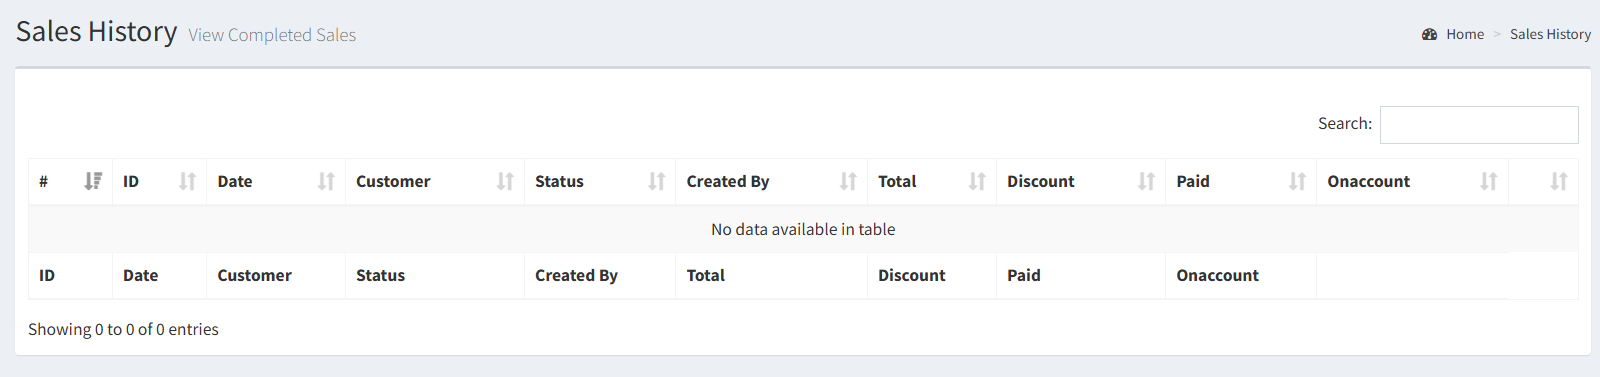
Typical workflow:
- Open Sales > Closed Invoices.
- Search or sort the table.
- Locate the invoice.
- Click the print icon to open or reprint it.
- Closed invoices are completed transactions.
- Direct editing is restricted after closing.
- Refund actions are handled from the opened closed invoice screen when the user has access.
Invoice Check and Search
The Check Invoice button on the Open Invoices page opens a modal for quick invoice printing.
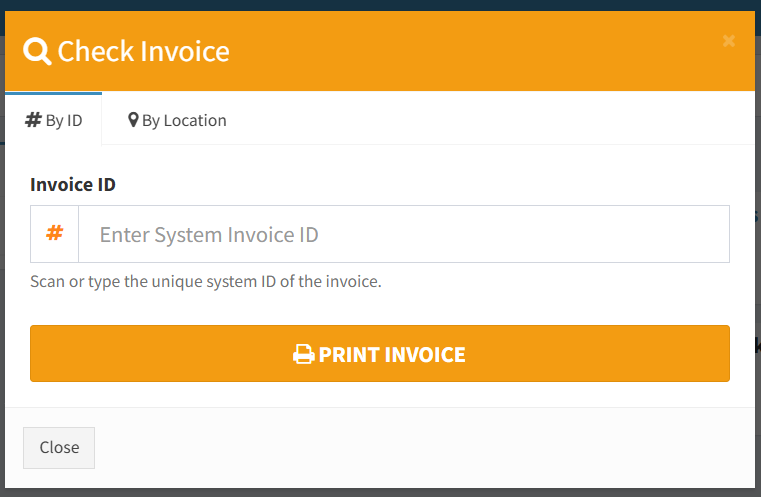
Search methods:
- By ID: Enter the system invoice ID.
- By Location: Select the branch and enter the invoice number printed for that branch.
Typical workflow:
- Open Sales > Open Invoices.
- Click Check Invoice.
- Choose By ID or By Location.
- Enter the invoice details.
- Click Print Invoice.
Refunds and Corrections
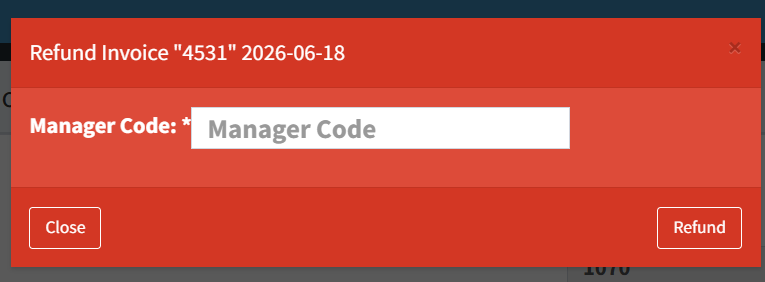
Refund is confirmed in the active Sales Invoice UI for closed invoices.
Typical workflow:
- Open Sales > Closed Invoices.
- Open the completed invoice.
- Click Refund.
- Enter manager code if requested.
- Confirm the refund.
What happens:
- The system reverses the completed invoice state.
- Payments are cleared.
- Stock and customer account balances are adjusted by the backend workflow.
- The invoice is returned to an open draft state for follow-up handling.
- Refund should be used only when the completed invoice needs to be reversed.
- Older invoices can require manager code.
- Exchange ticket printing is available through Print Slip on the invoice screen.
Opening the Wrong Invoice
Always confirm the invoice ID, customer, date, and total before editing.
Forgetting to Save Line Changes
After changing product lines, quantities, prices, or line discounts, click Save before printing or taking payment.
Entering Payment in the Wrong Field
Use the correct payment type field for cash, card, or other enabled payment methods.
Expecting Every Edit Button to Open the Same Layout
The Edit button opens either Invoice Layout or POS Layout depending on the configured sales layout.
Trying to Edit a Closed Invoice Directly
Closed invoices are completed transactions. Use confirmed refund or correction workflows instead of direct line editing.
Troubleshooting
Invoice Cannot Be Found
- Confirm whether the invoice is open or closed.
- Search Open Invoices for draft invoices.
- Search Closed Invoices for completed invoices.
- Use Check Invoice if you know the system ID or branch invoice number.
Barcode Does Not Add an Item
- Confirm the cursor is in the Scan Barcode field.
- Scan again.
- Search for the product manually.
- If quick add is enabled, use the Quick Add Product modal when the product is not found.
Payment Cannot Be Completed
- Confirm the invoice has items.
- Check the total and discount values.
- Confirm payment amounts were entered in the correct fields.
- Check whether On Account is needed for a remaining balance.
- Enter manager code if requested.
Print or PDF Does Not Open
- Confirm the invoice has a total.
- Try the Print button from the invoice screen.
- Reopen the invoice from Closed Invoices and print again.
- Ask an admin to verify printer or invoice template settings.
Refund Is Not Available
- Confirm the invoice is closed.
- Confirm the user has permission to use refund actions.
- Ask a manager for the manager code if prompted.
Related Pages
- POS Interface
- Customer Management
- Product Management
- Expenses Management
- System Configuration
- Reports and Register Summaries